
Hidden plumbing leaks can start small and then quietly cause serious damage over time. They are the kind of problem that often goes unnoticed until you see warped floors, a spike on your water bill, or a stain creeping up a wall. Knowing how to spot the subtle signs and where to look gives homeowners a clear advantage in stopping water loss and avoiding costly repairs.
This article walks through practical steps for identifying hidden plumbing leaks. You will get hands on tips for visual checks and meter tests, learn where leaks commonly occur, and read guidance on when to bring in a specialist. Real examples and simple tests will help you act quickly when you suspect a leak.
Identifying Hidden Plumbing Leaks and why they matter
Hidden leaks waste water, raise bills, and cause structural and indoor air quality problems. A seemingly minor drip can add up. For example a single steady drip can waste thousands of gallons a year. Over weeks and months this surplus water may warp floors, ruin drywall, promote mold growth, and corrode pipes.
Leak detection pays back in several ways. It reduces monthly costs, prevents emergency repairs, and protects your home value. Spotting issues early is usually less expensive than paying for major repairs such as replacing flooring or removing mold. The faster a leak is found the less damage it will cause.
Top signs that point to hidden plumbing leaks
When looking for a hidden leak focus on both direct and indirect clues. Below are concrete signs that often indicate water is escaping where it should not.
- Unexplained rise in water bill If usage trends are steady but cost jumps without change in habits a leak is a likely cause.
- Soft, sagging or discolored flooring Water under hardwood or laminate can make the surface cup or bulge over time.
- Stains or peeling paint on walls and ceilings These may start as faint marks and grow larger as moisture spreads behind the surface.
- Musty or moldy odor Persistent smells often signal trapped moisture in walls or under floors.
- Low water pressure or sputtering faucets Air or water loss in a line can reduce pressure and produce noisy flow.
- Sounds of running water when fixtures are off If you hear water moving through pipes at odd hours check for leaks.
Common locations where hidden leaks occur
Knowing where leaks tend to develop narrows your inspection and helps you pick the right detection method for the job.
- Under sinks and in cabinets Plumbing connections for sinks and dishwashers often loosen or degrade causing drips that soak base cabinets.
- Behind walls and ceilings Leaky supply lines or drain lines can run behind drywall and remain unseen until staining appears.
- Near water heaters and boilers Corrosion or faulty relief valves sometimes leak slowly and saturate nearby materials.
- Under slabs and in foundations Slab leaks are costly because they are beneath concrete and can erode the soil under a foundation.
- Outdoor irrigation and pool plumbing Underground lines can spring a leak and go unnoticed until lawn patches die or puddles appear.
DIY detection tools and techniques that work
Many simple tests will confirm whether a hidden leak is present. These are low cost steps you can take before involving a specialist.
Check the water meter to confirm a leak
Start by turning off all water in the home. Record the reading on the main water meter and wait 15 to 30 minutes without using water. Recheck the meter. If the reading moved the system is losing water. For more sensitivity some meters include a small flow indicator that spins with minute flows.
Perform fixture and appliance checks
Look under sinks and behind toilets. Run a dye test in toilets by adding a few drops of food coloring to the tank and observing the bowl after 10 minutes. Inspect appliance connections including washing machines, dishwashers, and ice makers. Check hoses and supply lines for bulging or brittleness.
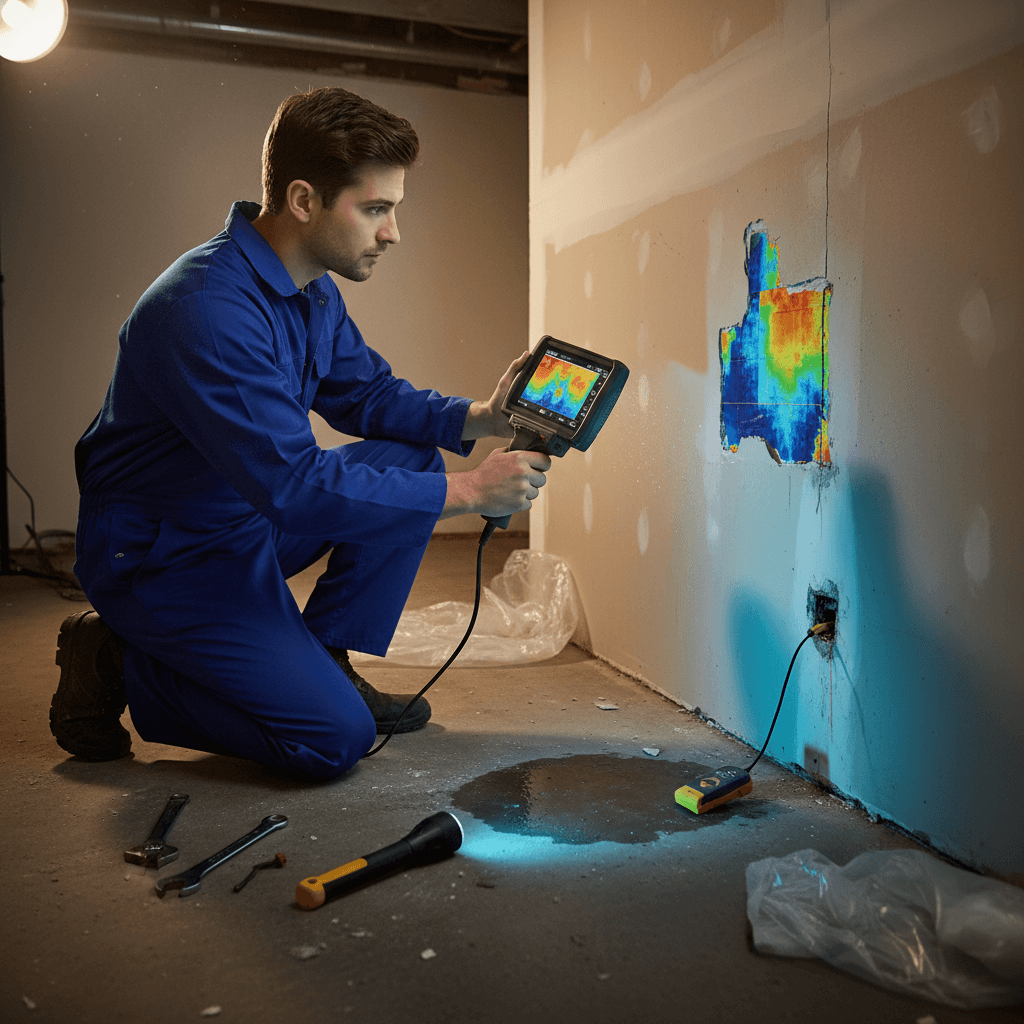
Use a simple flashlight to peer into dark crawlspaces and under cabinets. A moisture meter can quantify dampness in building materials. Listening devices such as a hose held to the pipe and ear listening can locate active leaks inside walls. Thermal cameras detect cooler areas caused by moisture evaporation and can be rented or accessed through many tool rental outlets.
Interpreting what you find and common repair approaches
Once you identify where water is escaping decide whether a temporary fix will hold or if a longer repair is needed. Here are common scenarios and likely responses.
- Pinhole leaks on copper pipes Often stopped temporarily with epoxy putty or a compression sleeve while a permanent replacement is scheduled.
- Loose fittings Tightening or replacing a gasket usually resolves the issue quickly.
- Cracked PVC or ABS drain lines These often require a section replacement. If access is limited a small access panel can be installed to reach the line.
- Slab leaks Repairs may include re routing plumbing, replacing a section via trenchless pipe lining, or traditional excavation depending on severity and location.
When to bring in outside help
Some leaks are straightforward to fix at home. Others require specialized tools and experience. If you suspect a leak under a slab, behind finished walls, or near major appliances it is sensible to consult a trained team. For accurate locating and to limit unnecessary demolition many homeowners rely on trained technicians.
If you want a thorough search that uses noninvasive methods and professional grade equipment consider professional leak detection services to pinpoint the source. These teams use acoustic sensors, video camera inspection, and thermal imaging to find leaks without needless cutting into walls or floors.
Costs and what affects pricing
Detection fees vary by region and the methods required. A basic diagnostic that uses meter checks and visual inspection may be modest. Advanced locating that uses cameras, listening devices, or infrared equipment will cost more. Repair expenses depend on material, access, and whether a line must be fully replaced or only patched.
For example a simple faucet supply line replacement may be under a few hundred dollars while a slab leak repair can stretch into the thousands. When comparing quotes look for itemized costs and a clear plan so you understand what is covered. Ask about warranties on parts and labor.
Practical prevention to reduce chance of hidden leaks
Regular maintenance shrinks the chance of surprise leaks and extends the life of plumbing. Simple routines make a big difference.
- Annual inspection Check visible plumbing once a year and inspect appliance hoses for wear.
- Replace old hoses Change rubber hoses on appliances every five years or sooner if signs of wear appear.
- Control water pressure High pressure shortens the life of fittings and valves. A pressure gauge can confirm pressure levels and a pressure regulator can be installed if needed.
- Winterize exterior systems Shut off and drain outdoor lines before freezing weather to prevent bursts.
- Install water detection alarms Devices placed near water heaters, under sinks, and in basements will sound when moisture is present and allow early action.
Real life example to illustrate value of early detection A homeowner noticed a slight rise in the water bill and a faint musty smell in a guest room. A meter test confirmed a leak. A thermal camera scan showed a cool patch on the floor and a small slab leak was located. Repair involved a targeted slab access and pipe replacement that limited demolition and kept costs under control. Early action prevented mold spread and large scale floor replacement.
Hidden plumbing leaks are common but manageable when you know what to look for and how to act. Start with simple tests like the meter check and visual inspections. Use listening techniques and a thermal scan to narrow the location. For leaks under slabs or behind finished walls look for help from trained technicians who use specialized tools to locate the issue without extensive demolition. Addressing a leak quickly limits water loss, protects home components, and can save money over the long run.
If you find signs of a leak take one clear step now. Turn off the water to affected areas if possible, document what you see, and schedule an inspection. Whether you choose a local technician or a team that offers advanced locating methods prompt action will help prevent larger repairs later. Contact a reliable provider to get a detailed assessment and next steps.